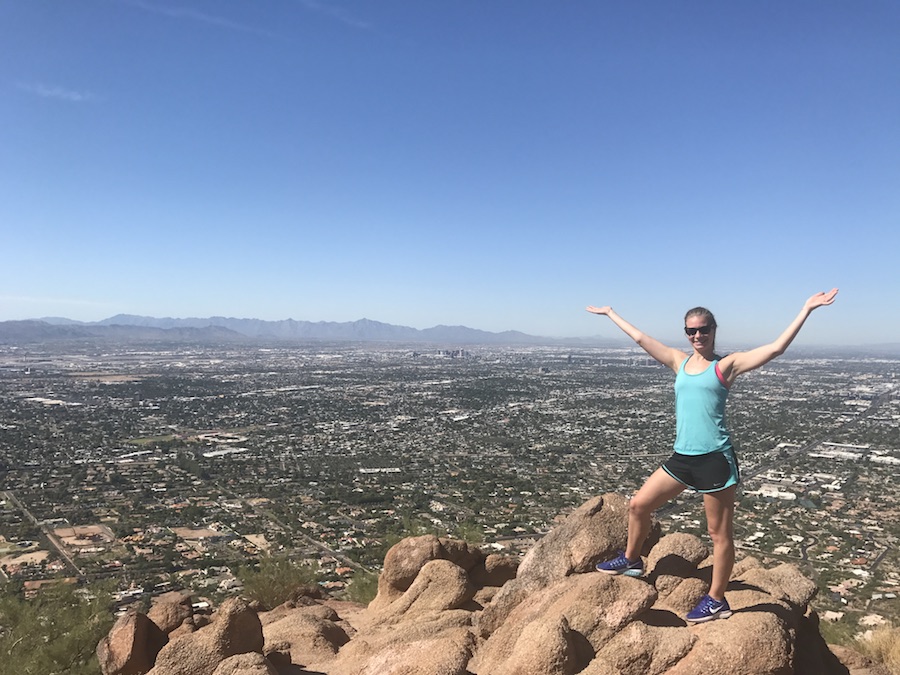
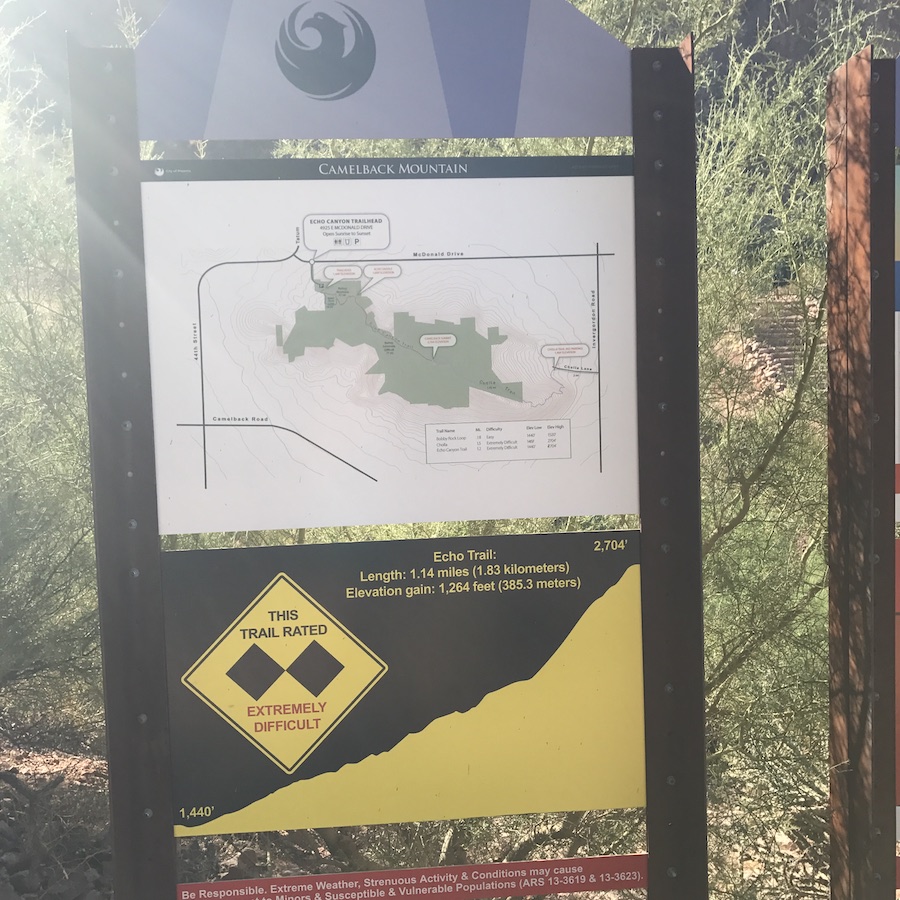
 Camelback Mountain – I cringed every time I heard those two words leading up to my first trip to Phoenix in May of 2016. With a total elevation of 2,704 feet and a 1,280 foot climb up to the top, it’s one of the toughest (albeit famous) hikes in town. The sprawling mountain can be seen from basically anywhere in Phoenix and I quickly figured out how it got its name – it has the very distinct shape of a kneeling camel.
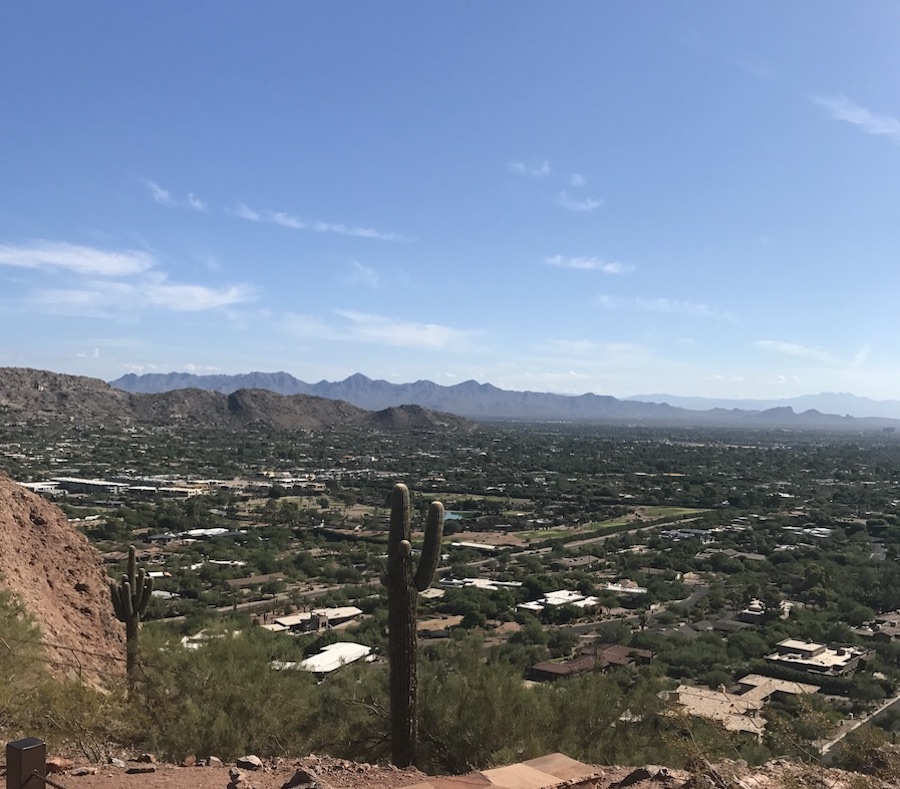
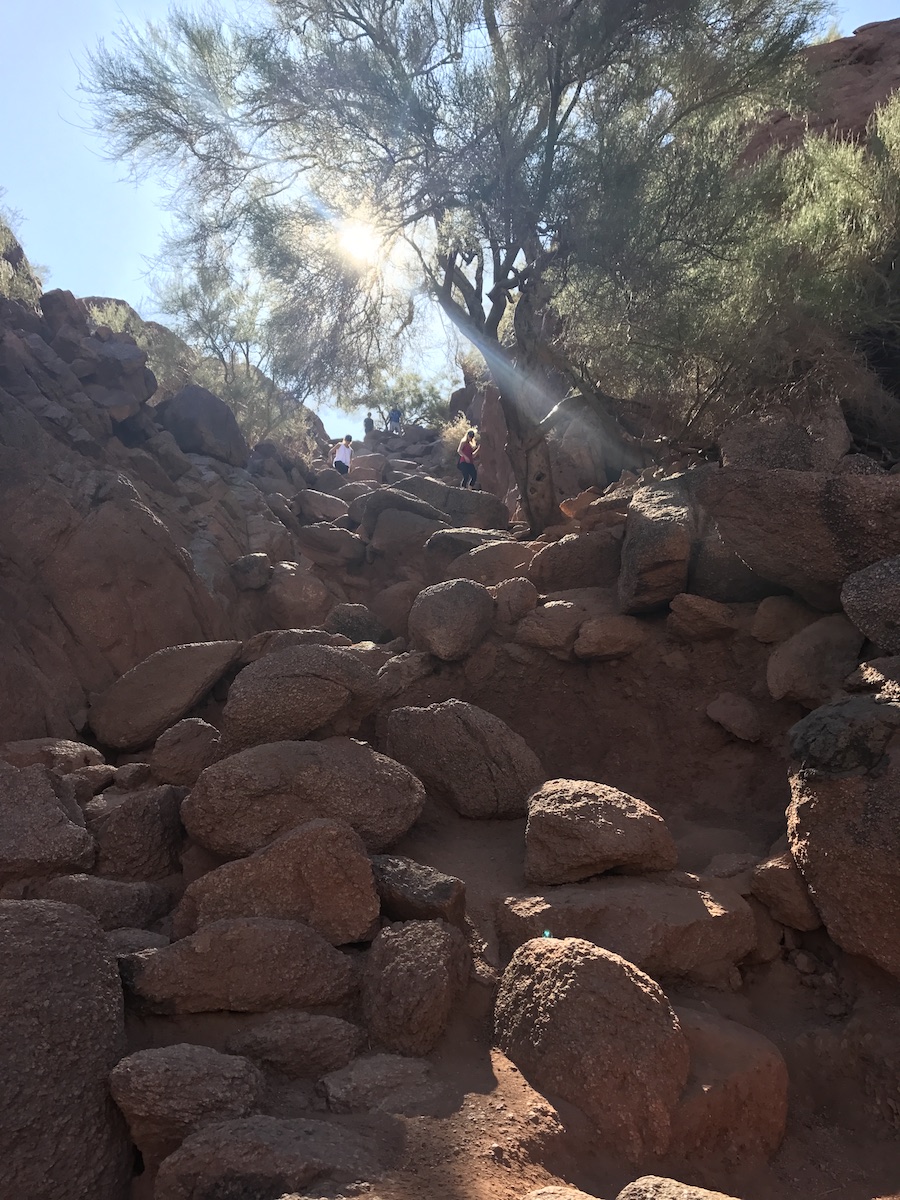
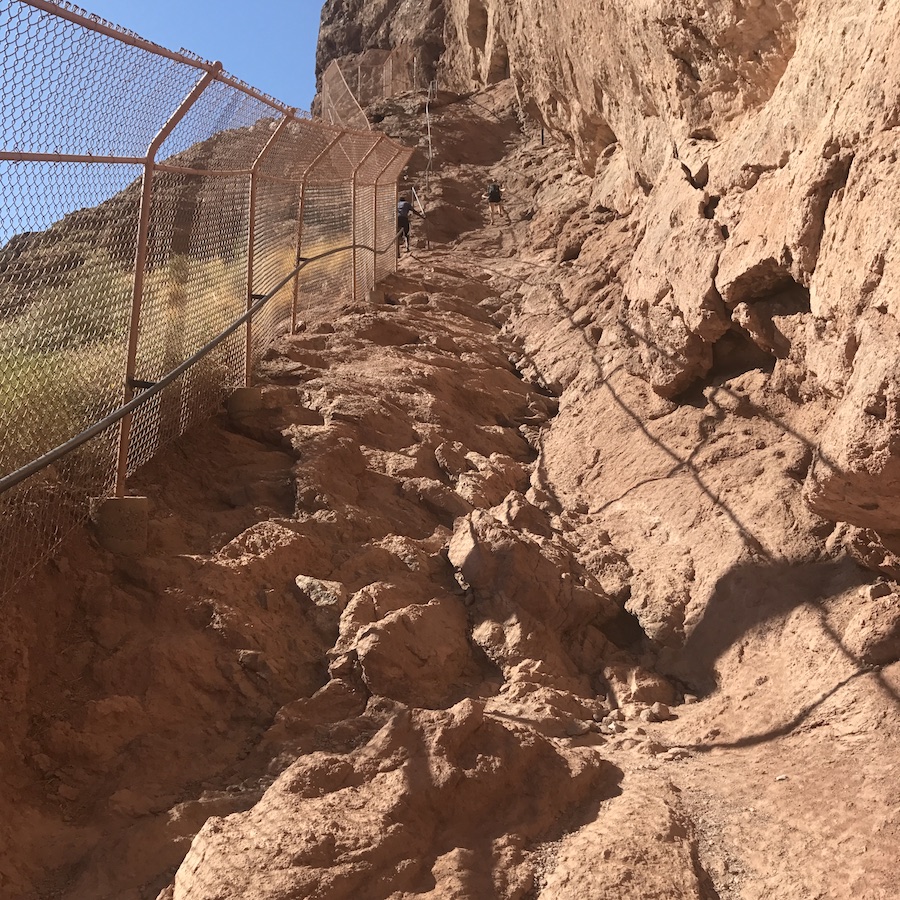
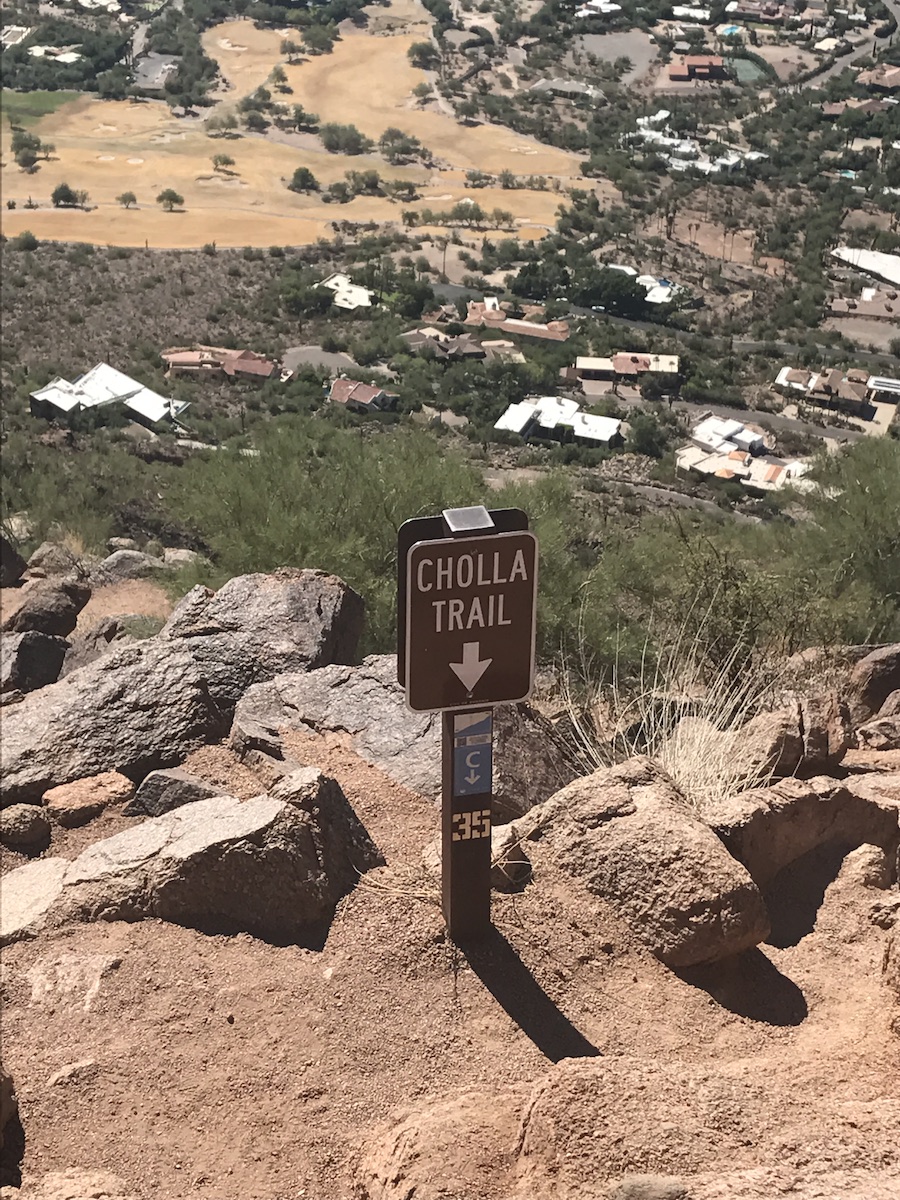
Camelback consists of two trails – Echo Canyon (1.14 miles) and Cholla Trail (1.4 miles). Both hiking paths consist of dirt, rocks, and some areas with handrails to assist you. Echo Canyon is by far the hardest and steepest and takes you up the head of the camel. Cholla Trail is a more gradual incline and takes you down the camel’s back. Both trails reach the summit which is at the hump. The views are spectacular no matter which route you take.
 I had a feeling of trepidation mixed with curiosity and while not always the best combination in some situations, it gave me the boost I needed to suck it up and climb the mountain. I also knew that if I didn’t go on the hike, I’d seriously regret it.
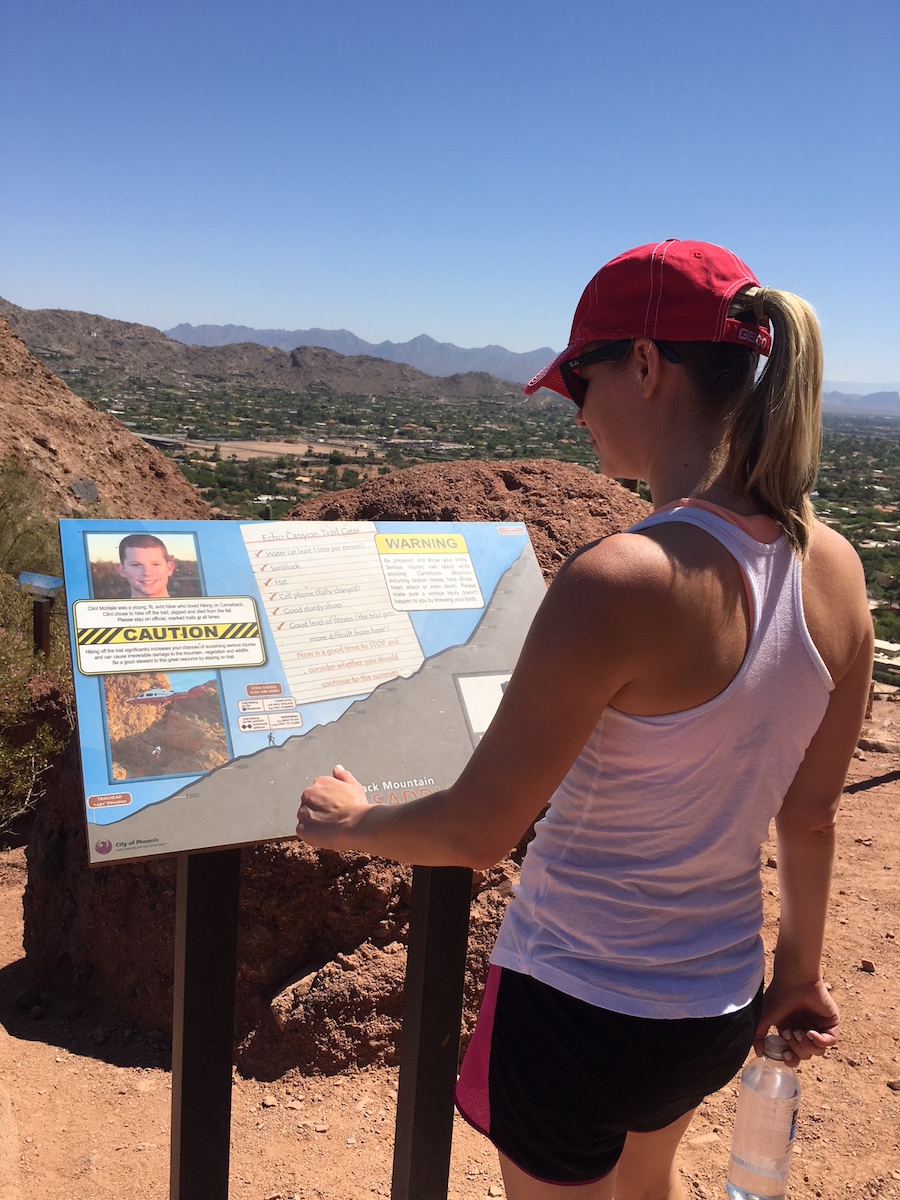
The fear-inducing signs at the beginning of the trail added to my anxiety but we were determined and continued on our way.
 We set off on the Echo Canyon Trail around noon in 95-degree weather. It can go without saying that this wasn’t the ideal time to go hiking in the desert but we wanted to fit it in during our trip. The hike took us close to 3 hours but luckily, I was with a great partner in crime that patiently allowed me to stop whenever I needed a breather.
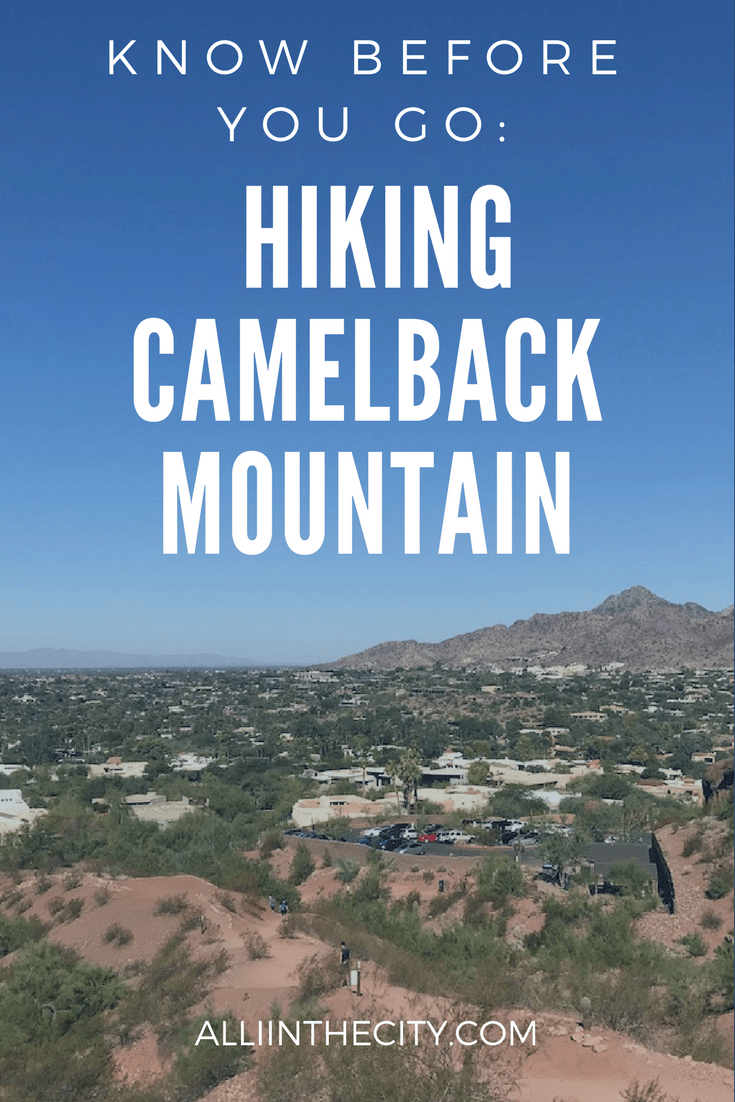
If you choose to make the trek to Camelback, here are a few things to know before you go!
1. Get up early, it’ll be worth it.
Don’t go out the night before and don’t wait until noon. The trail is narrow at times so crowds on the mountain can definitely impact how long it takes you. The second time we hiked Camelback we set off at 9 am and made it to the Summit in half the time.
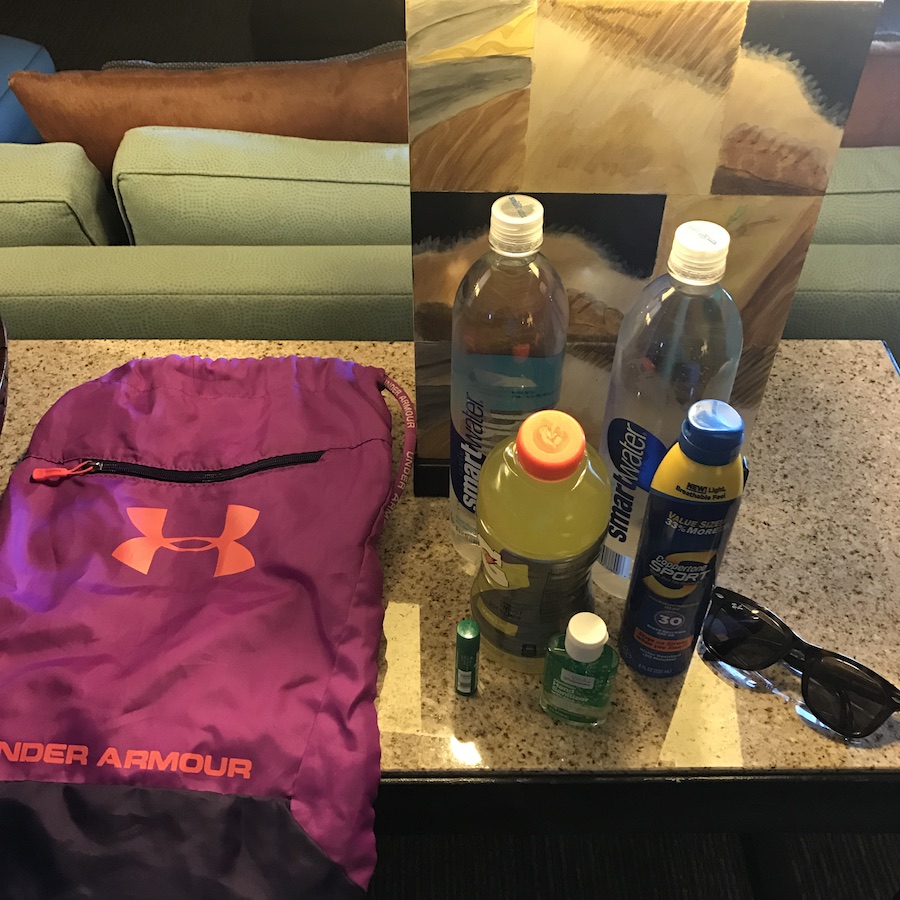
2. Pack all of the essentials.
A sturdy backpack or fanny pack for your personal belongings is a must because you’ll need your hands for climbing. I packed sunscreen, Gatorade, a hat, two bottles of water, and a snack. And don’t forget chapstick! Slater on the sunscreen every hour, even if you don’t think you need it. You may also think one bottle of water is enough – I almost went through both bottles on the way up!
3. Do your research.
Know the difference between the two trails before setting off on your journey. Cholla Trail is known as the easier hike but don’t let that fool you – BOTH trails are rated “Extremely Difficult”, which according to the Phoenix Parks and Recreation site, means “maximum elevation change over extremely uneven footing”. Please don’t stop reading – I promise it’s really not that bad!
Both times we hiked up the mountain via Echo Canyon and took the Cholla route coming back. Believe it or not, the way down is almost as difficult going up, so we opted for the gentler slope on the way back.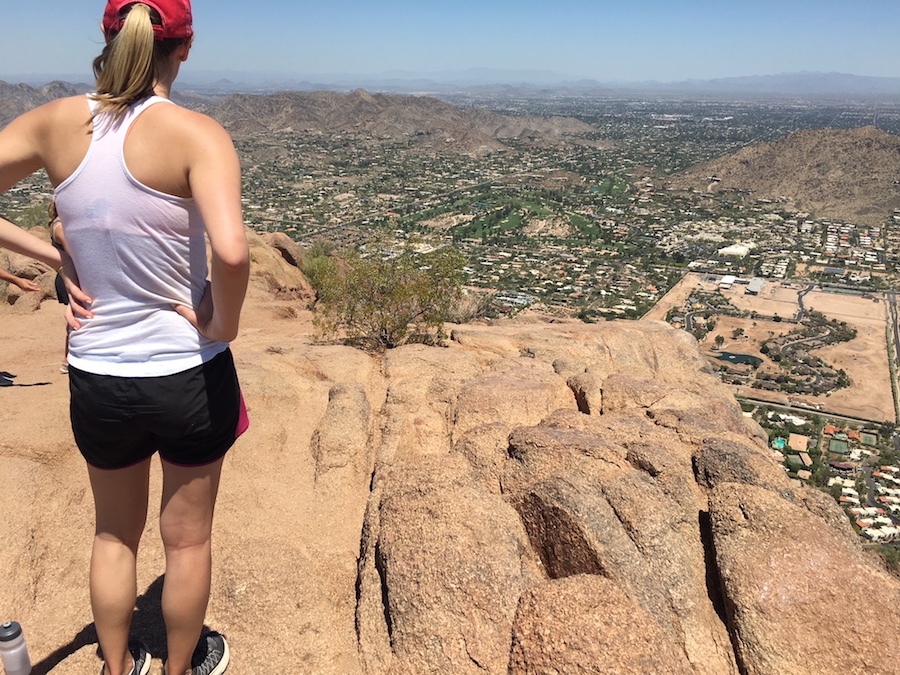
4. Uber to the mountain.
We heard about the parking situation (or lack thereof) so we opted to take an Uber (which took us about 20 minutes) from our hotel in Scottsdale. There is more parking at Echo Canyon than Cholla but either way, space is limited, especially on the weekends. Also, keep in mind that driving limits your ability to come up one trail and back down the other. Biking is another great option.
If you want great views and a phenomenal workout, check out Camelback the next time you are out West. If you’ve hiked Camelback, do you have any advice you would give brave souls that want to give it a try?